Today is a very dear friend's birthday. I've known her for 15 years - we have worshipped together, volunteered together, and shared good and bad times over coffee (tea for her!) I'm celebrating her birthday, but it's also somewhat bittersweet because she is in the process of moving far, far away. This card needed to be special and have meaning beyond just "happy birthday" so I based the entire card around a small piece of patterned paper.
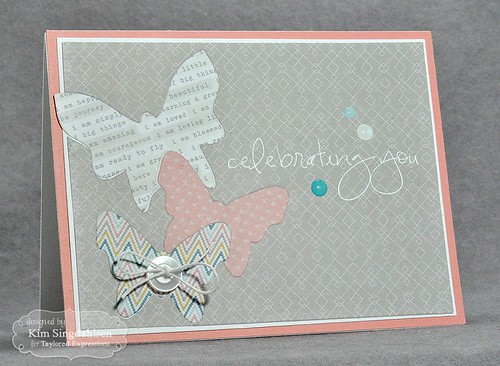
It's that piece of paper on the large butterfly. I didn't have a big enough piece to cover a card front or anything at all much bigger than the butterfly. I carefully cut it so that words like "amazing", "courageous", "ready to fly", and "blessed" were showing. The butterflies were based on the "ready to fly" part which is so appropriate for her right now. (This paper comes from the Simple Stories I Am pad linked below - the remaining paper comes from the Pink Paislee pad).

I didn't want to overwhelm that piece of paper so I decided not to pop the butterflies with lots of dimension, rather I used the inlaid die cutting technique. There are some great videos out there describing how to do it. For example, Jennifer McGuire's here or Splitcoaststamper's here. My card was much simpler than their cards, but I still have a few tips and hints that I learned the hard way.
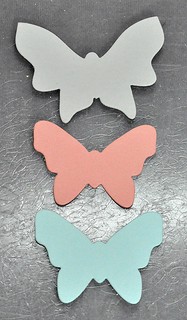
First, die cut the butterflies (I didn't take any pictures while making the card - these are afterthoughts.)
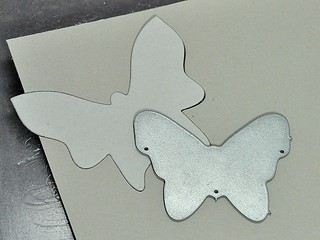
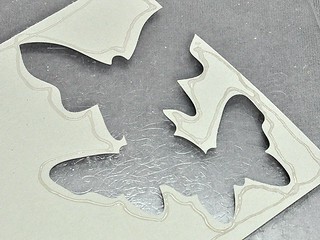
Cut the main butterfly from the background paper. I would recommend just leaving it all on the cutting plate through the entire cutting process. Remove the cut butterfly and replace it with the previously cut full butterfly. Line up the die for the second butterfly to overlap.
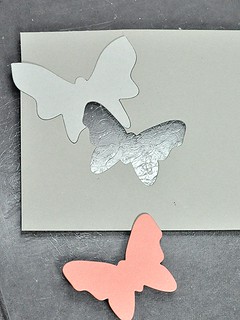
When this is cut, remove the full second butterfly, which includes a portion of the first butterfly, and then you will replace it with the patterned butterfly (in this case the cantaloupe butterfly) before repeating the entire process for the bottom butterfly.
If I could give one important tip - VERY CAREFULLY apply adhesive to the edges of the background paper so the edges don't pop up. Had I thought about it - I would have used a sheet of Stick It Adhesive to make sure that I had every edge. I used a fine-tipped glue.
You all probably understood this better than I did - I just found that it took me a lot of thinking and planning to make sure my butterflies were cut appropriately, so I thought I'd share!
SUPPLY LIST


Sorry to hear your is moving but what a great card for celebrating the occasion. Thanks for the tips. Thus looks like a fun one to try and would also be great for those dreaded sympathy cards.
ReplyDeleteBeautiful card, Kim! And the text butterfly is gorgeous and will be so appreciated, I'm sure.
ReplyDeleteThis is such a special card! I love the inlaid butterflies!!
ReplyDeleteLove!!
ReplyDeletePretty and so very thoughtful for your friend!!
ReplyDeleteYour friend will be deeply touched by your gorgeous tag; it's infused with time and love. I can tell you'll miss her immensely; hopefully, "far, far away" will still allow for visits...often! Thank you for the tutorial; you've made the complexity of the inlaying 'understandable' (and trust me, I need that!).
ReplyDelete~c