The picnic basket is an OLD set by Papertrey Ink named Vintage Picnic. It has multiple baskets and even more toppers and has survived all of my downsizing efforts so I must like it. The sentiment is from the Simply Sentimental series by Trinity Stamps. It's the kind of set I adore because it has multiple "happy" stamp and dies (most can be stand-alone) with even more add-on words including "Independence Day".
Using "Independence Day" was particularly important to me because not only is it my country's celebration but it's my personal celebration of independence. Tomorrow is my last day of work EVER. I am retiring!! I think I'm excited but that mood changes hourly. I am excited to be leaving work but I am unexpectedly anxious about retirement. There's the financial side (will we outlive our savings), there's the keeping busy side (I've never been a sit around and do nothing person) and then there's the concern of how do I keep from killing my husband (in 35 years, we have never spent this much time together - in fact, we haven't really spent even average time together with work travel and opposite schedules). We have planned carefully for all of it so it all should work.
What I don't have a plan for is where cardmaking stands with all of it. I'd like to think I'd spend so much more time in my craft room but I also know that I have 60 less cards to make every year if I'm not making birthday and Christmas cards and others for office mates. I'll eventually search out a church ministry or veterans organization or something like that - but as I've been sharing on my blog, we are also planning to move so I'm not going to get overly involved in anything here. I only share about one card a week right now although I make more - so maybe my commitment for now is to take the time to photo and share the others.
So Happy Independence Day to the U.S.A. and to me!!!
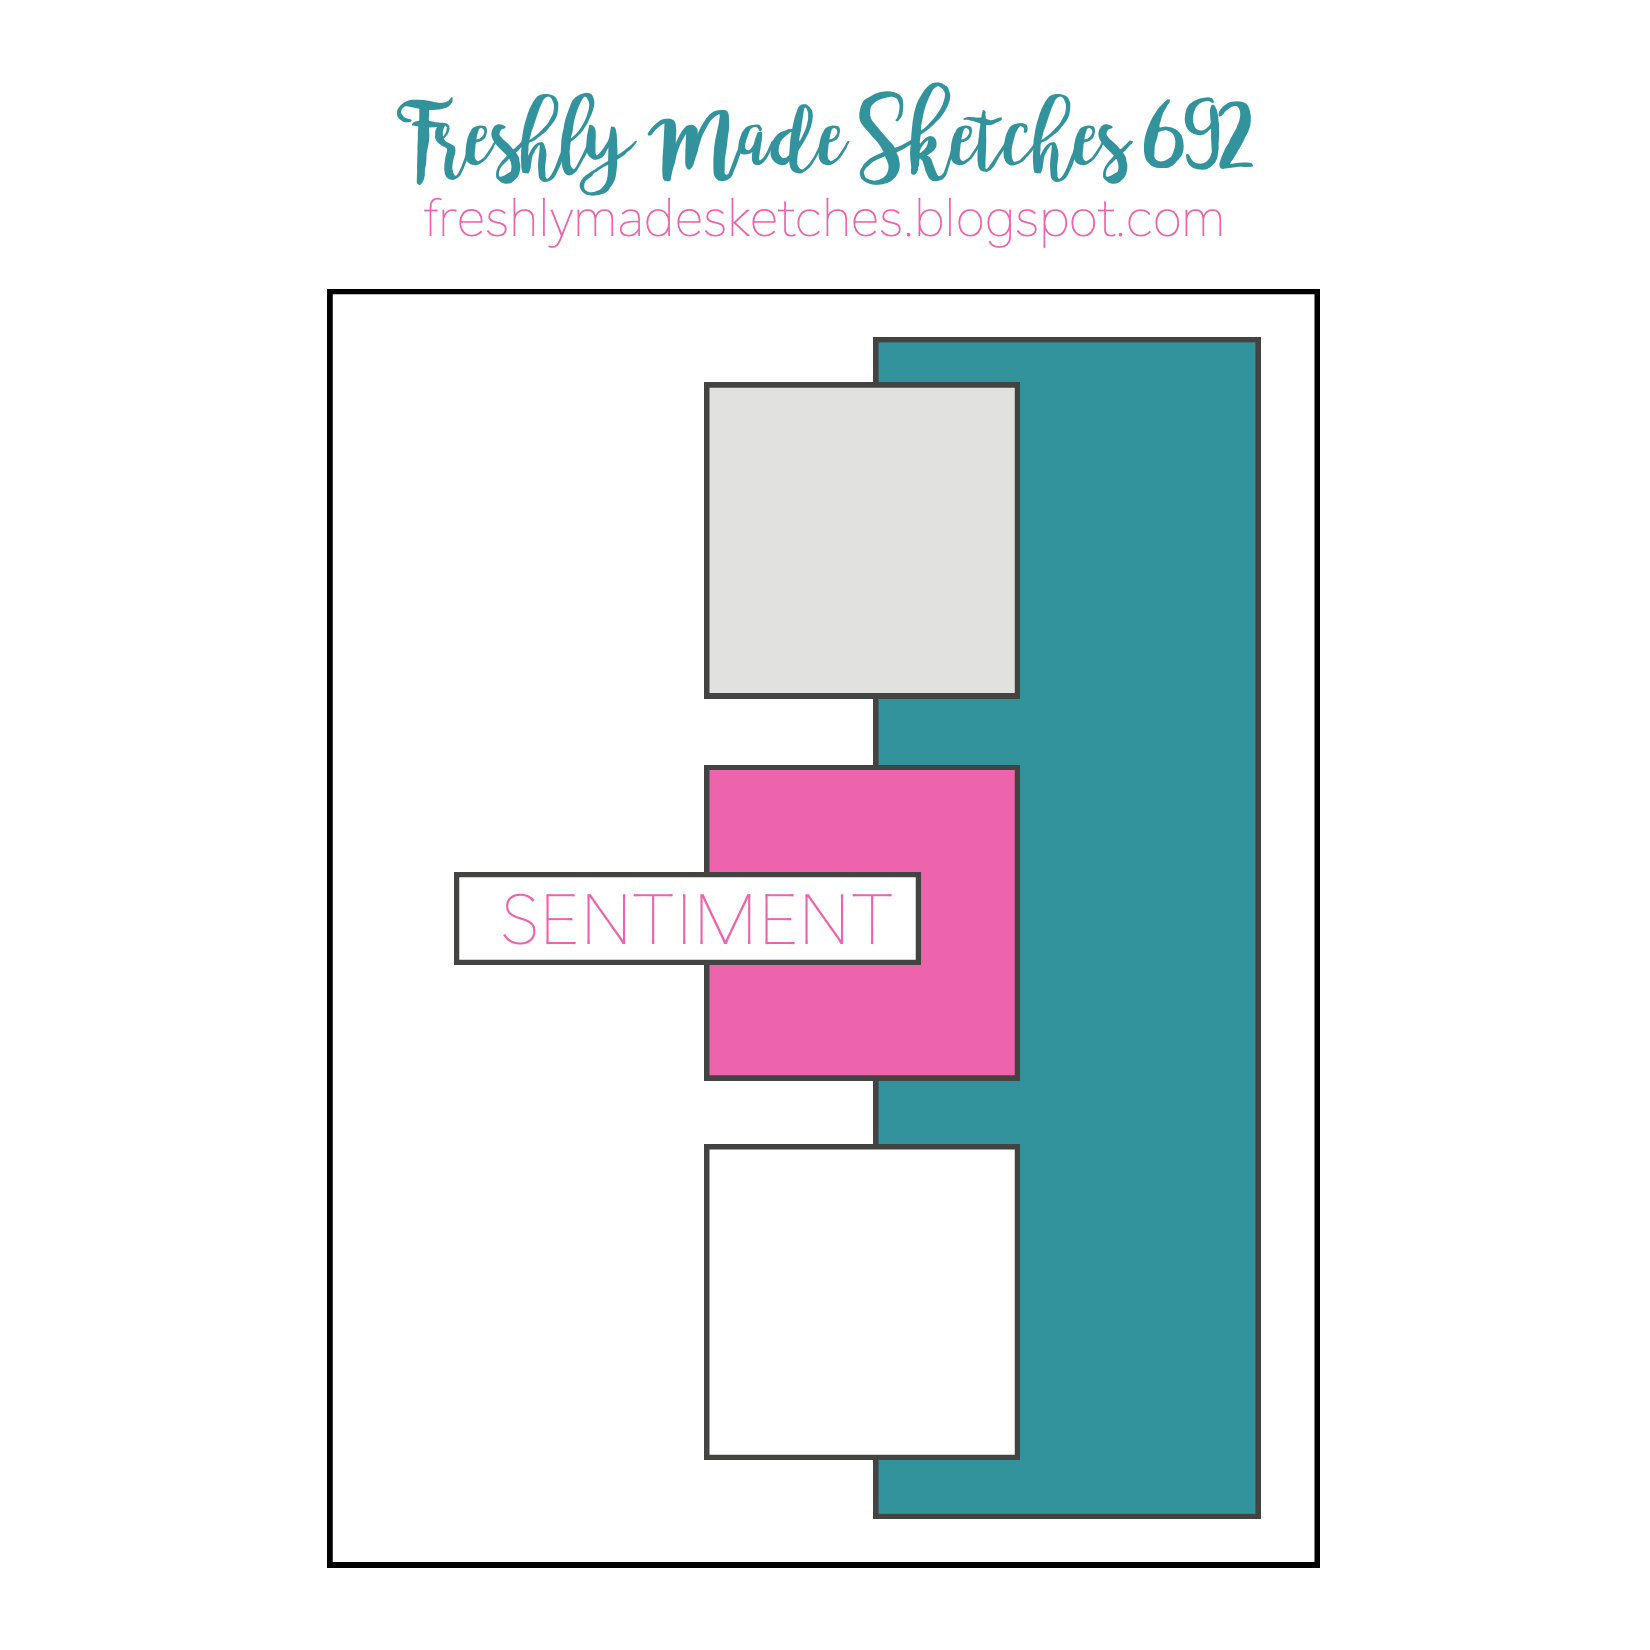
I hope to see you playing along with us this week at Freshly Made Sketches.
SUPPLY LIST
Stamps: Papertrey Ink Vintage Picnic (and dies), Trinity Stamps Simply Sentimental - Happy (and dies)
Cardstock: Stampin' Up Crumb Cake, Poppy Parade, Azure Afternoon, Blueberry Bushel