Sunday, April 28, 2019

Color Throwdown and Simon Says: Hugs

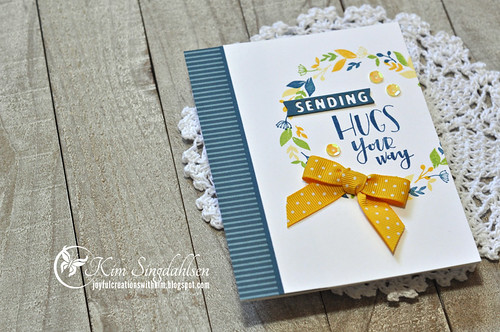
I'm playing along with two challenges that I thought worked perfectly together!  First is the Simon Says Stamp Wednesday Challenge - it's "anything goes" but they are showcasing Concord & 9th products.  Then I saw the colors at the Color Throwdown and knew they would be wonderful with Concord & 9th's Wreath Turnabout.

Sending Hugs Close

I absolutely adore the Turnabouts!  It does take a bit of time to line it all up and stamp in multiple colors although the Jig and the Alignment Aids are an amazing help.  Don't get me wrong - it's so much easier than the old fashioned way!!  But when I got this wreath all done - then stamped the word "hugs" (and only the word "hugs") - I realized it was just too high.  I tried a bunch of ways to fill in the space (instead of just restamping everything which might have been easier). I even added a big bow (I can't remember the last time I tied a bow - I even had to find instructions to relearn how to use my Bow-Easy to tie it!)  I finally realized that the stamp set with "hugs" also had a stamp that said "your way" - that clearly filled in the space.  But then the next challenge was that the die (which comes from the Season of Cheer set) actually said "sending you" and "sending you hugs your way" didn't make sense.  So a little fussy-work with only the edge of the die going in to cut off the "you" and, even though "sending" is a bit off-center, I decided I was done!
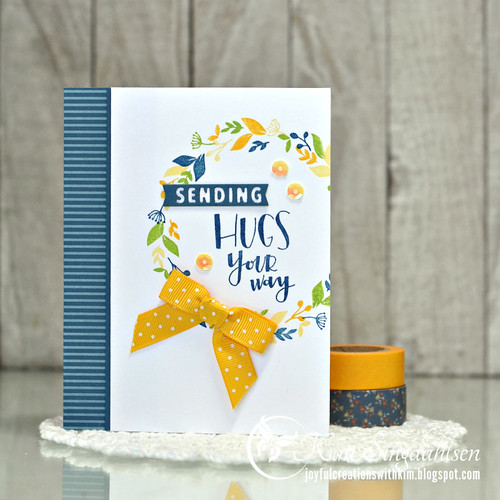
Sending Hugs

I'm not sure this card was worth my struggles - but I love the wreath and especially in those fresh colors.  Thanks to both challenges for the inspiration and to Concord & 9th for the brilliant concept!


SUPPLY LIST
Stamps: Concord & 9th Wreath Turnabout, Hugs
Dies: Concord & 9th Season of Cheer
Cardstock: Stampin' Up Not Quite Navy with coordinating patterned paper (both retired)
Ink: Stampin' Up Not Quite Navy, Taylored Expressions Lime Zest, My Favorite Things Pineapple, Papertrey Ink Harvest Gold
Accessories: Hero Arts Ombre Sunshine Sequins, Stampin' Up retired ribbon

Wednesday, April 24, 2019

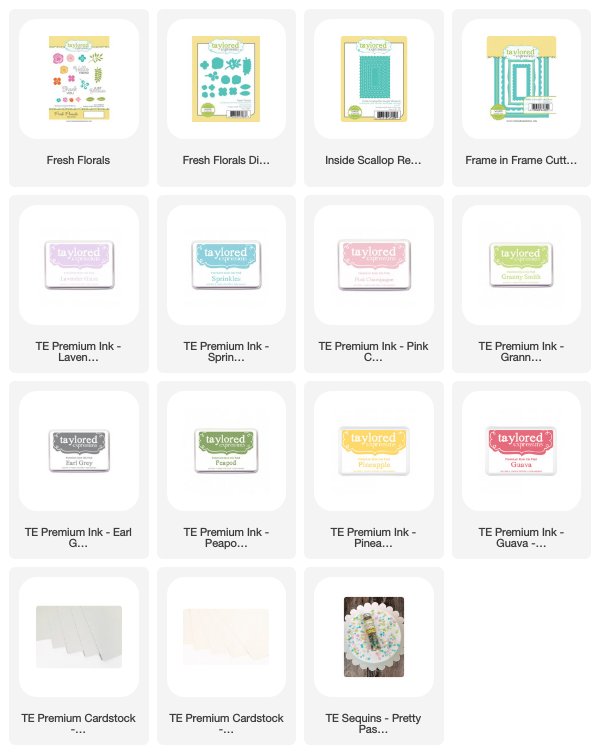
Taylored Expressions: Fresh Florals Three Ways

Sometimes with my card-making purchases, I seem to have squirrel-syndrome moving from shiny object to shiny object.  I have to have this set and before it even arrives in my mailbox - I've seen the next set I have to have.  It's all led to a fairly massive stash - many of which I haven't used and may never use.  It was starting to become overwhelming so I've gotten much better over the last few years at requiring a "waiting-period" for all of my purchases.  If I still love it a week or a month later, it'll end up in my stash.  I've also seriously de-stashed although take that with a grain of salt.  We moved a year ago and instead of a craft corner, I actually have a craft room - and it's still full - vaulted ceilings with built-ins - and there's no decorations, it's all filled with stash!!  Not to mention the 5 Elfa drawer stacks, a few IKEA Raskog carts and the two large work spaces, one of which has shelves underneath.

Given all of that, I am also making a huge effort at trying to use every set in multiple ways.  In the past, if a set was ever used - it was probably used once and stashed away.  That's just silly.  There are such wonderful products available.  Today - I'm going to focus on one of those - Fresh Florals by Taylored Expressions.

Fresh Florals is full of fun, bold flowers but it can take on so many looks, styles and techniques.  It's one of those sets that makes sense to have in your stash.  As proof, I have three cards today - but it's not the first time the set has been out on my desk - check out here and here.

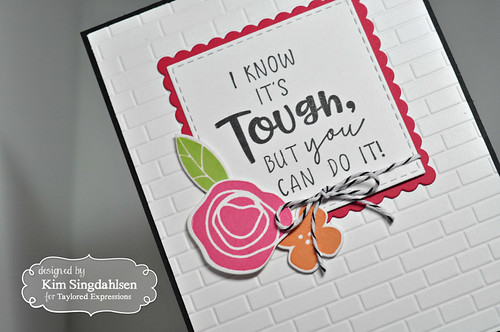
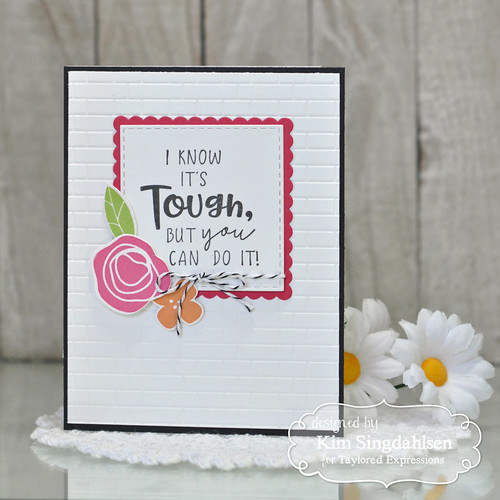
My first card is clean and simple, bright and modern.  

Taylored Expressions Fresh Florals 3 ways

The bold flowers work well with the graphic sentiment.  Some subway tile in the background and it's a quick and easy encouragement card.

Taylored Expressions Fresh Florals 3 ways


My second card is also clean and simple, but uses an easy technique.

Taylored Expressions Fresh Florals 3 ways

I laid out most of the images on my Misti - I had to fill in a couple later because they didn't all fit at the same time - but it was easy to tuck them in at that point.  Stamp the images tone on tone.  Then very slightly move your cardstock and stamp again in Sugar Cube.  This gives it a carved look that works nicely with these bold images.

Taylored Expressions Fresh Florals 3 ways

I didn't want to hide any of it - so I layered a vellum panel with a simple Hello.


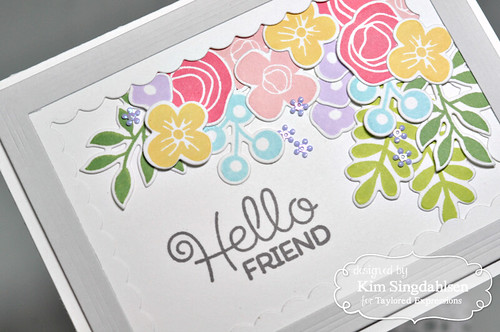
My last card is sweet and soft and also very clean (but perhaps not so simple).  

Taylored Expressions Fresh Florals 3 ways

I stamped and cut a variety of the Freshly Floral images and created an entire bouquet.  I laid it out and then pressed down on it with Press 'n Seal so I could pick it all up and adhere it all at once.  The sentiment on this one is cuter and lighter than the first card, but still works beautifully with the solid flowers.

Taylored Expressions Fresh Florals 3 ways

I added a simple frame for the flowers to cluster around then a few floral sequins to soften the entire look.


I am very happy with this trio of cards.  The stamps are interesting enough for just a few of them to work on a simple card - but you can create full bouquets.  And I love the technique - it's not new, but I hadn't done it in awhile and was thrilled at how well it works with this set.

Taylored Expressions Fresh Florals 3 ways


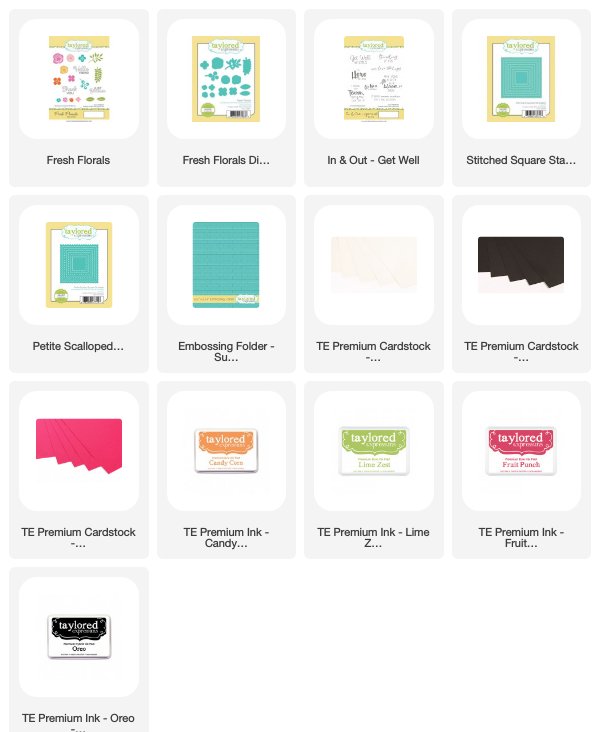
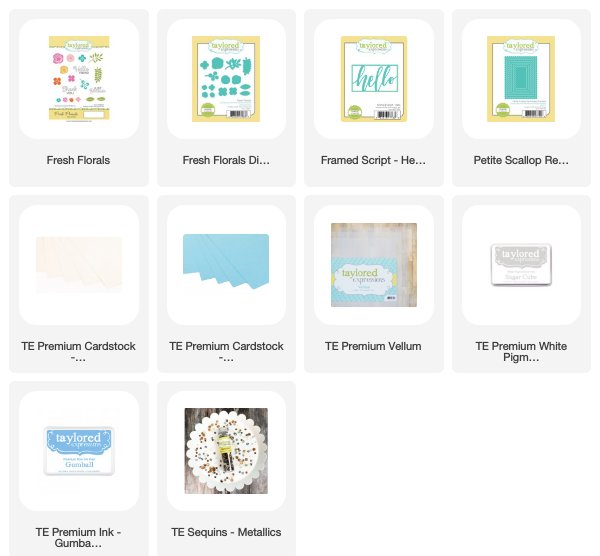
SUPPLY LISTS

I Know It's Tough...


Hello


Bouquet for a Friend


Freshly Made Sketches: All the Pieces

It's time for a new sketch at Freshly Made Sketches and it's my week to bring you the sketch!!  I'm not sure I could have gone much simpler.


I did have an ulterior motive for this one - I knew exactly what I was going to do before I ever created the sketch!!

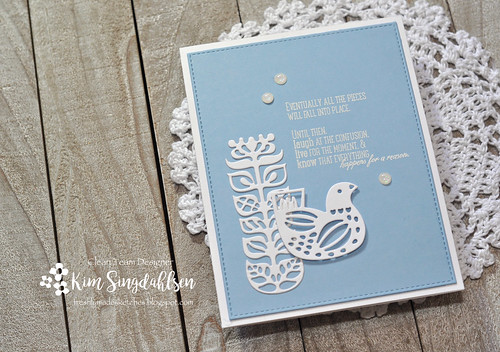
FMS All the Pieces Close

These Nordic dies were sitting on my desk and seemed to layer perfectly.  Obviously I wanted the sketch to be more broad - so I drew the rectangle and circle, then used a flower and a bird!!
The sentiment isn't the right fit from a design perspective.  It needs to be a bit bolder so that it holds its own with the dies.  But it is the right fit for the person who will be receiving this card. I know it's a little small to read...

Eventually all the pieces will fall into place.
Until then, laugh at the confusion, live for the moment & know that 
       everything happens for a reason.

FMS All the Pieces

I am very much looking forward to seeing what each of you does with this sketch.  What shapes will you be using???

SUPPLY LIST
Stamps: Papertrey Ink A Little Inspiration
Dies: Spellbinders Nordic Floral, MFT Blueprints 13
Cardstock: Taylored Expressions Gumball

Monday, April 22, 2019

Stamplorations: Thinking of You

I don't do a lot with stencils and I have absolutely no idea why.  Particularly with my clean and layered style - they are perfect to add a hint of a background.  Sadly, I often think of it after a card is done and everything is glued down - then it occurs to me that a bit of pattern in the background would have added interest.

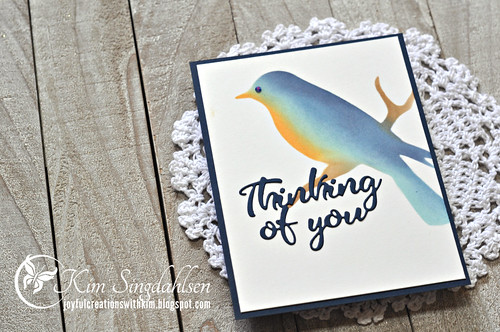
In a recent order from Stamplorations, I threw in some stencils.  I got one especially for cards that I need quickly but still have to be special.  I knew I was challenging my stenciling and blending skills with this one - but the stencil and a die cut sentiment is exactly what I needed!!  And you know what?  It turns out it's easy to use!

Stamplorations Thinking of You

I am not a pro at blending.  There are definitely some edges on this guy that I could have/should have blended out.  But what I am a pro at is getting exceedingly messy when I'm doing inky things and then getting fingerprints and smudges on my card. I had ink all over my hands and then the stencil slipped - so I decided discretion was the wise choice and I stopped.

Stamplorations Thinking of You Close

I feel like this stencil could go a number of directions.  It could be soft and feminine.  It could be "misty" (there's a reverse stencil so you could ink the bird then use the reverse to add some softness around it.)  I went with dark navy for my masculine bird because of the current challenge at Stamplorations.  I think he's gorgeous!


SUPPLY LIST
Dies: Cutplorations Thinking of You (by Stamplorations)
Cardstock: Bristol Smooth, Taylored Expressions Blue Corn
Ink: Distress Oxides in Vintage Photo, Spiced Marmalade, Tumbled Glass, and Faded Jeans, then I brushed on a bit of Taylored Expressions Blue Corn
Other: Artplorations Perched Bird Stencil, Pretty Pink Posh Starry Sky Mix (for the eye)

Sunday, April 21, 2019

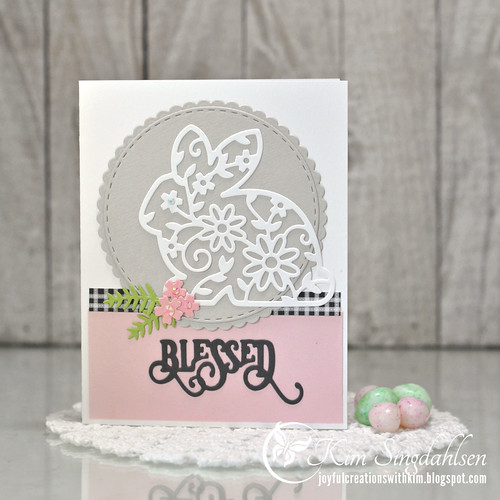
Easter Blessings

Wishing you a joyous Easter and a happy spring!!

Blessed Easter

My 'clean and layered' card is 100% inspired by The Card Concept.  The colors, the bunny, the greenery, the hint of dark plaid, even the circular plate and rectangular napkin.  Thank you Card Concept!!


SUPPLY LIST
Dies: Tutti Designs Floral Bunny; Frantic Stamper Elegant Blessings; Taylored Expressions Petite Scallop Circle Stacklets, Stitched Circle Stacklets, and Flower Box Sprigs and Flowers (retired)

Wednesday, April 17, 2019

Freshly Made Sketches: Let Your Joys Stack Up

It's time for a new sketch at Freshly Made Sketches! Today we have a sketch by Linda.


When I was sitting down to do this last weekend - it was snowing!!  It was a beautiful light snow with big flakes - but it was still snow in April which just seems wrong  (And it's in the forecast for this week too.)  So I went overboard with spring!

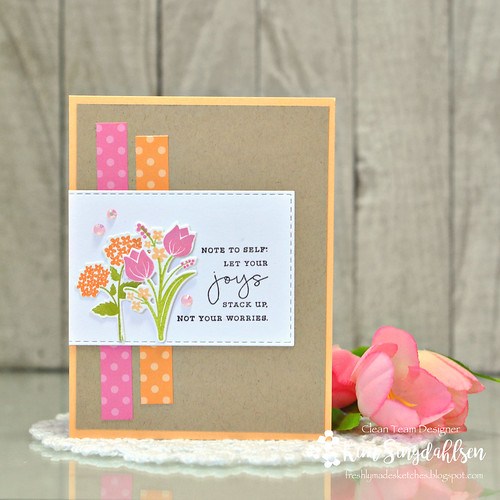
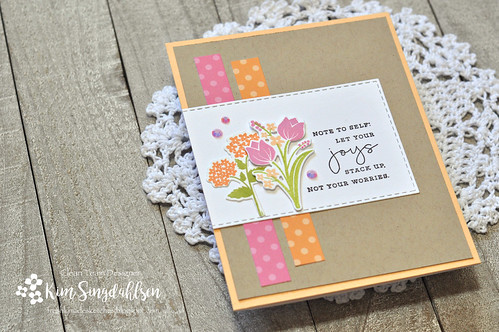
FMS Let Your Joys

It was one of those cards that almost didn't happen.  Every last one of you will be able to relate to this although maybe you are smart enough to walk away before frustration sets it.  Here's my process on this card...
  • See the sketch and immediately know it will be on kraft with soft patterns and flowers.
  • Pick the perfect stamp and plan ahead - stamp the solid base in the a.m., let it dry, and  in the p.m. add the detail with embossing powder.
  • Oh no.  Where's the coordinating die for it?  Because I do NOT fussy cut.  Spend incredible amounts of time looking for the die.  Even consider paying $7 shipping just to get a replacement die.
  • Give up, walk to the mailbox for a break and realize there's a stamp order there - and one of them is a great replacement!
  • Try inks from four different companies looking for matches to the background paper - including a retired ink stashed way in the back of the stash.
  • Success!
  • Find the perfect sentiment.  Lay the actual stamp on the card - then refill coffee.  Sidetrack a bit on the computer and tidying up a very messy workspace.  Turn back to the card. Oh no - the stamp is gone!  (And I'm fairly certain the cat hasn't wandered by - stamps and dies are favorite play toys.)
  • Look.  Look again.  Look in the sink under the empty coffee cup.  Dig through the garbage.  Crawl around the floor feeling the rug.  Track the cat down.
  • Tidy some more including putting away the retired ink that's stashed far way in the back of the stash.
  • Give up.  Find an acceptable alternative stamp.
  • Stamp it.  Oh no.  It's crooked.  Re-cut the rectangle and reach for the stamp positioner - on top of which is the packaging for the new stamp set that came in the mail - that I would swear up and down I haven't touched since about the day before when I stamped the flowers.  But clearly I had because from the bottom falls the missing sentiment.  Joy!!
  • Ink it up. Realize the acrylic block is a little messy, but I'm getting a little tired of this card so decide I'll just stamp carefully.  Sentiment looks good. Oh no.  The messy block got ink on the tulip.
  • Dig the ink back out of the retired ink box that's stashed in the back of the stash so I can restamp the tulip.  
  • Finished.  Seriously and truly finished - and I'm not convinced I like the card after all of that.  I'm sure it's the trauma of it all.
  • Do something a little easier - - - like submit my taxes!!!
And..yes...I do know the stripes are crooked.  Tough!!

FMS Let Your Joys Close

I hope to see you playing along - and I hope your experience is better than mine!!!

SUPPLY LIST
Stamps: Papertrey Ink Bitty Bouquets, Choose Joy (sentiment)
Dies: Papertrey Ink Bitty Bouquets, Taylored Expressions Stitched Rectangle Stacklets
Cardstock: Taylored Expressions Toffee, Stampin' Up Apricot Appeal
Patterned Paper: Sunny Studio Dots & Stripes Pastels
Ink: Papertrey Ink Smokey Shadow, Taylored Expressions Granny Smith, Simon Says Stamp Hollyhock, Stampin' Up Apricot Appeal, Peekaboo Peach and Lucky Limeade
Other: Pretty Pink Posh Valentine Mix Gems

Wednesday, April 10, 2019

Freshly Made Sketches: Thank Ewe

It's time for a new sketch at Freshly Made Sketches! Today we have a sketch by Jen Mitchell.


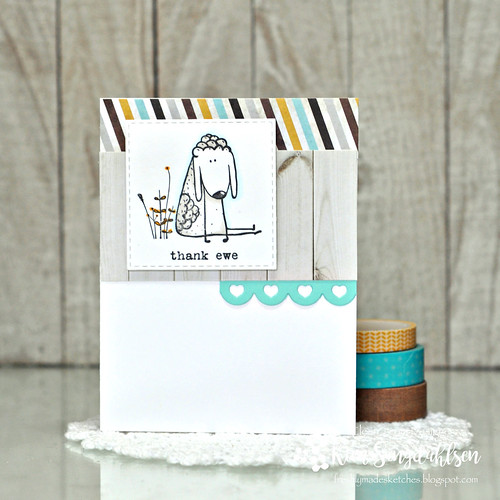
I recently spontaneously purchased a stamp.  I'm very deliberately not "spontaneous" these days. I used to be - but the sheer volume in my craft room shows the results of those days. So I've had a rule for the last few years that I put something in my wishlist and if I'm still in love with it in a month or two - then I buy.  It's amazing how many things drop off my radar and never get purchased.  Consequently, only those things that I truly love find a home in my stash.  It works.  But a few weeks ago, I was due to work in about 1/2 hour, enjoying my last sips of coffee - and I saw this post for Simon Says Stamp.  I fell hard for the Tim Holtz Funny Farm stamp set (BTW - Jo's blog has many more samples).  I also fell for the Wildflower card immediately above it.  Within five minutes, I had both items in my cart and on the way to me!!!

Here's the Funny Farm...

FMS Thank Ewe

I figure it was meant to be.  My oldest son came down from college a few weeks for my belated birthday celebration.  His gift to me was a beer or two (or more) at the neighborhood brewery.  And more importantly - he was my designated driver!  Obviously that required a thank you.  How perfect is this set going to be for me for many situations over the years as I'm surrounded by males.  Not that it's just a masculine set - but it works perfectly and it has a bit of fun to it without being cutesy.

FMS Thank You Close

I found an old paper pack that had just the right colors and then used those colors to do some limited coloring on the image (totally inspired by Jo (link above)).  I am thrilled with everything about this.  I'm still tickled by those images (no buyers-regret at all!). And the fun sketch added just the right amount of detail for a card for my son!  Hope to see you playing along this week.

SUPPLY LIST
Stamps: Tim Holtz Funny Farm
Dies: Taylored Expressions Stitched Square Stacklet, Sweet & Sassy Hearts & Stars Scallop Borders (retired)
Paper: We R Memory Keepers Indian Summer, Taylored Expressions Confetti Cake
Ink: Copics