Sunday, May 29, 2016

Even the Worst of Storms

Earlier this week, I found myself having to do a card in 20 minutes (see here).  That's SO far out of my comfort zone. It takes longer than that to decide on a stamp.  Yesterday was worse - I had 10 minutes.  Ugh.

My oldest son took a year off before college. Not really a year "off" since the ultimate plan was that he realized life was really, really hard - particularly living in the typical teenage job market. He paid many of his own expenses. We didn't require rent - but we did require savings, and he also had chores around the house. For instance, the kitchen was required to be clean by the morning or he wouldn't be allowed meals in our house that day!  He's had a job he has liked - but yesterday he was let go. It was a new grocery store in town that had hired lots and lots of people for their grand opening then they expected employee attrition as it slowed down.  But employees didn't leave. My son was one of the last in - so he was the first out.  And at the end of May - when all the other teenagers in town have snapped up the summer jobs.  Poor guy. I guess our plan to show him that life was really, really hard has worked out almost too well.

Anyway, between the time he called and when he got home - I had 10 minutes.  He knows cards are important to me so I really wanted to greet him with a thoughtful card.  This set was on my desk. 
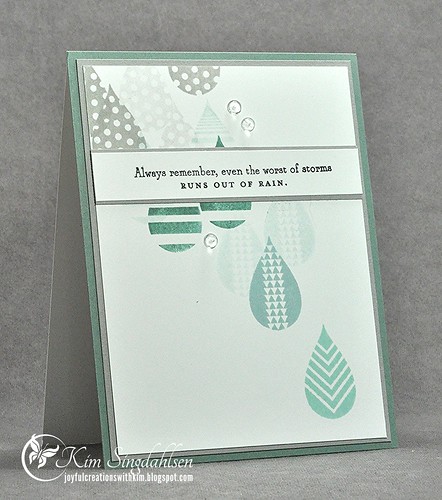
Worst of Storms

I knew that I wanted to cluster a bunch of raindrops at the top and taper them off, so I pulled out a variety of rainy/stormy, masculine colors and started stamping, with some second generation stamping to add interest.  I am wishing that I had done a different sentiment - and in a different way - the strip covers too much of the fun raindrops. When I got all done, it seemed way too dark and somber so I broke my rule with my boys ('no bling') and plopped on some raindrops.

Love the concept of it - not my best work - but my son knows I love him!

SUPPLY LIST


Saturday, May 28, 2016

Merry Monday: The Greatest Gift

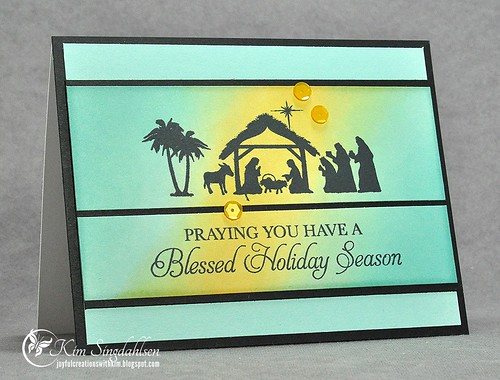
Life has been unusually busy this year, and I have done a very bad job at keeping up with Christmas cards via the Merry Monday Christmas Challenge, but nothing was going to stop me from playing along with this week's challenge - using a nativity scene.


I have quite a few nativity stamps and dies in my collection - so I just paged through them until inspiration struck!

Merry Monday Greatest Gift

I have to tell you my deep, dark secret.  I have a Misti, but I hardly ever use it.  I feel like I'm the only one left. I think I've just gotten so adept at the Stamp-a-Ma-Jig that the Misti seems like more work. However, there are situations in which the Misti is absolutely invaluable - and will always hold a place in my craft area - and this is one of them!!  After I had created a sponged panel that I liked, there was no way I was going to risk getting a bad image.  So I lined it all up on the Misti, stamped the first time, and sure enough, it wasn't a solid image.  Inked and stamped again and problem solved - with no tears (or bad words!)  I can definitely see getting more and more addicted to the Misti as it keeps saving me from these problems.


SUPPLY LIST

With my apologies, I used a set from my collection that seems to have been long retired because I couldn't find it anywhere to link it.  It's Greatest Gift by Hero Arts. It's sad that it's retired because it has some fabulous sentiments for the Christian meaning of the season.


Here's what is still available!

Friday, May 27, 2016

Finally! with Purfect Cats

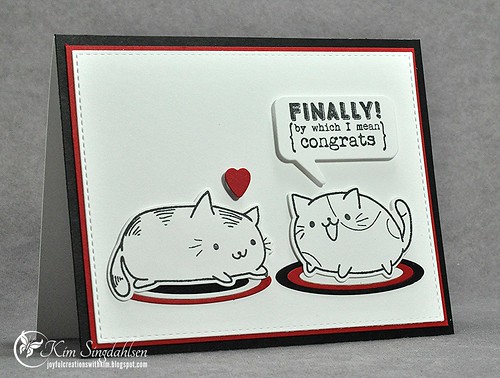
Yesterday I was getting ready for work and suddenly panicked when I realized that I had not made a congrats card for my youngest son surviving 10th grade.  It was a tough year.  He sees me make cards for everyone else and I was horrified at myself that I wasn't prepared to give him a card immediately after his last final.  I had 20 free minutes before I walked out the door - what to do?

I had purchased the set Purfect Cats from The Greeting Farm because we have two large cats (one is big, one is fat) and my son adores them both - my big, tough teenage lacrosse player even admits it! The set is perfect with their cute and tubby cats!


I had planned to color them but with 20 minutes, I decided to go with a cartoonish card - black and white with a pop of red!

Finally

The original plan was to stamp two cats directly on the card - and a speech bubble.  But I fumbled the stamp on the second cat, so I stamped them on scrap, used the dies and plopped them on top of my fumble. Then they looked they were floating, so I pulled out the rug from the Nursery die set at Taylored Expressions (links below) - this rug has saved me more than once by grounding my images.

The sentiment was obvious.  It's also from Taylored Expressions - Grad Grumplings - but had the perfect amount of sarcasm for that cat.

Twenty minutes - made, photographed, inside written, envelope - DONE!!  (I'm quite ridiculously proud of myself!)

SUPPLY LIST

Wednesday, May 25, 2016

Taylored Expressions and Therm O Web's Deco Foil


This week, Taylored Expressions is partnering with Therm O Web. We get to use products from both companies on our cards.  Although I have been a long-time user of Taylored Expressions' product - Deco Foil from Therm O Web is new to me - and I am LOVING it!!

The other fun thing is that there are prizes to be had!! TE will be giving away a Deco Foil prize pack and Therm O Web will be giving away a $50 Gift Certificate to the TE Store. Be sure to head over to the Taylored Expressions blog and to the Therm O Web blog for all of the details.

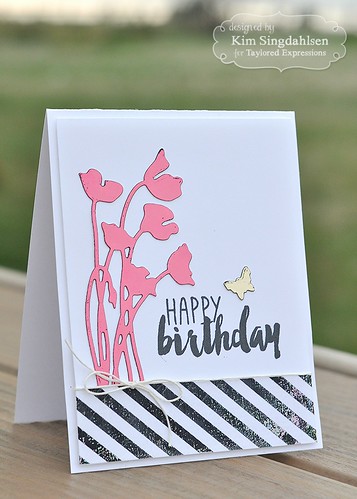
Tell me this isn't gorgeous!!


TE Melon Silhouettes

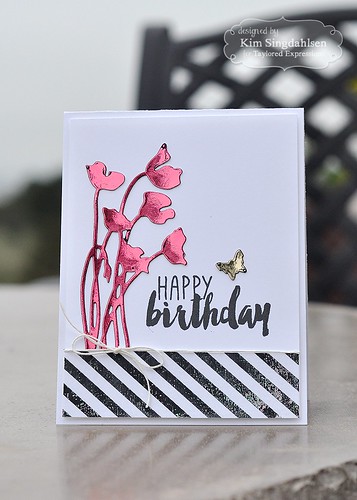
I'm not bragging on myself or my cardmaking skills.  (I'm a German/Scandinavian, Lutheran South Dakota farm girl - we don't brag!)  What I'm thrilled with is the gorgeous sheen of these flowers.  And it's incredibly easy to do.

TE Melon Silhouettes

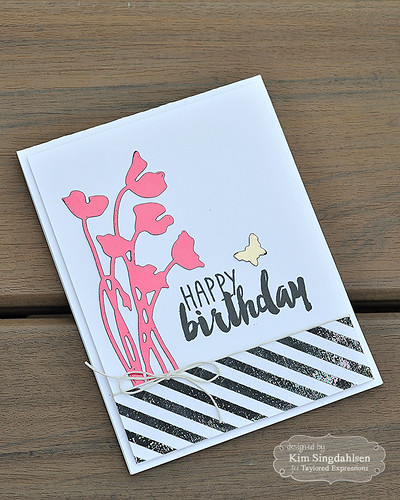
Using Therm O Web's PeelnStick Toner Sheets, I cut the Silhouette Stems 1 and the small butterfly from In Flight Overlays.  Then I cut a piece of Pink Melon Deco Foil slightly bigger than the flowers and a piece of Champagne Deco Foil slightly bigger than the butterfly.  Putting the colored side of the foil up, I layered the foil on the die cut and put it though my laminator.

Laminators do vary. I have a bottom of the line Scotch laminator. I set it at 5 mil, a scrap of cardstock was placed under the die cut in the parchment folder and the folder was run through twice. The foiled piece was also burnished with a bone folder to adhere all of the little pieces before the excess foil was removed.  If you don't have a laminator but are thinking about it - after talking to others, I would recommend the Royal Sovereign laminator. It's the one you see on so many of the videos out there showing how to use Deco Foil. It's also the one Therm O Web sells. 

TE Melon Silhouettes

One other fun thing on this card - see the shiny diagonal stripes?  I printed the black stripes on my printer. If you have a laser printer with which you can print cardstock - you can use it to adhere foil - just like the laminating instructions above. I used Opal Deco Foil which gave it a nice sheen.

The important words are "on which you can print cardstock".  My printer technically doesn't, but I printed a diagonal stripe on regular printer paper. I cut a piece of cardstock to the smaller size I needed on my card. Adhered it to the printer paper and ran it all through again. Because it was a smaller piece, it went through just fine.

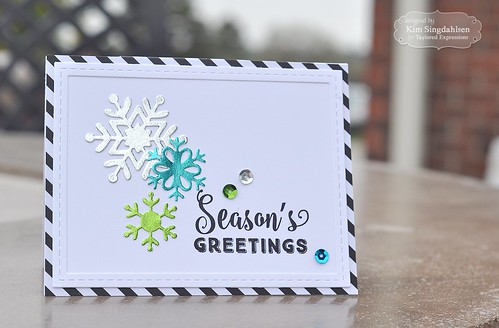
I didn't want to stop foiling - so check out how perfect it is for Christmas!

TE Trio of Snowflakes

You just HAVE to smile at shiny, colorful snowflakes.

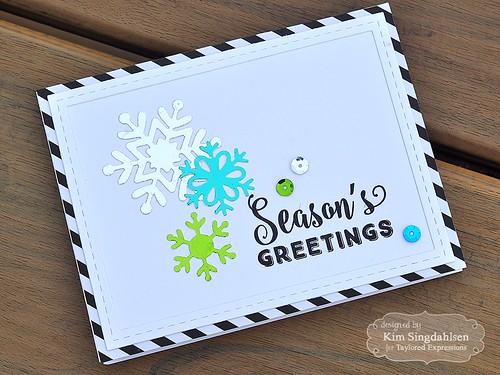
TE Trio of Snowflakes

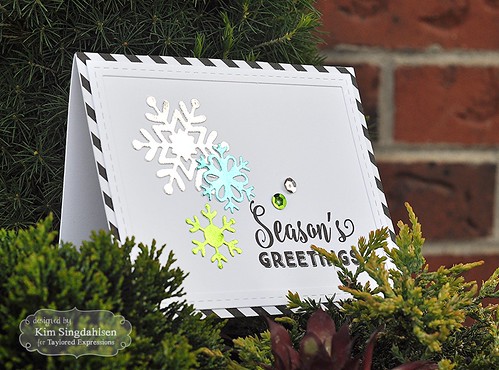
I did have one teeny-tiny problem - taking the pictures was extremely hard!!  I don't generally use natural light because most of the year, my crafting time is in the dark.  I have a set-up that generally works for me with a cobbled together photo box and two Ott-lites providing illumination.  My set-up failed miserably with these because the light reflected from the foil and totally freaked out my camera (or else the incompetent user had no idea how to adjust the camera to compensate.)  So I headed outside.  It was very cold, gray, nearly raining and very windy.  More than once, I had to chase these poor cards across the lawn.  But I LOVE the results.

TE Trio of Snowflakes

Don't forget to check out the Taylored Expressions blog and the Therm O Web blog for a chance at the prize package!

SUPPLY LIST

Taylored Expressions has a wide variety of laminating supplies and foils but, of course, I got carried away and used a few that aren't currently at TE.

Melon Silhouettes

Besides these products found at Taylored Expressions, I also used Pink Melon Deco Foil and Opal Deco Foil.

A Trio of Snowflakes

Besides these products, I also used Spring Green Deco Foil.

Freshly Made Sketches: Celebrate

It's time for a new sketch at Freshly Made Sketches! Today we have a sketch by...ME!!


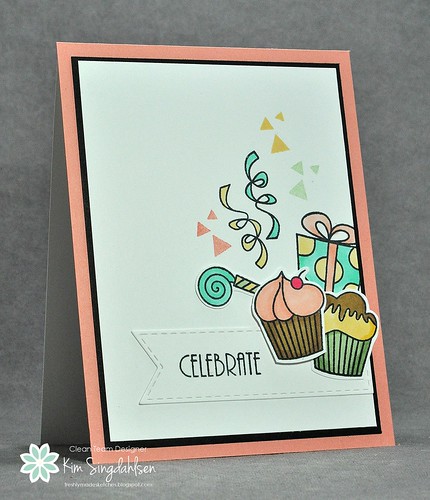
I absolutely to make little groupings of stamps or dies.  It adds so much detail and interest yet keeps all of the lovely open space for a fresh, clean and simple card. I intended with this sketch that everybody would use different shapes and layers and stamps/dies - and I am so very much looking forward to seeing what everybody comes up with.  Here's mine.

FMS Celebrate

I needed a birthday card for a workmate.  I started out with a plan not to stamp, but to do a die-cut cupcake with balloons and candles behind it, but to my horror, I discovered that the only die-cut cupcake I have is itty-bitty and my balloons are much larger.  The poor little cupcake got lost.  (Do you all recognize my justification for a future purchase of more cupcakes and balloons??!!)  Luckily I have two sets by Dee's Artsy Impressions at Stamplorations that are just full of wonderful basic birthday shapes and I started layering!

I do hope to see you playing along.  It's a little nerve-wracking and very exciting all at the same time to put a sketch out there!  I look forward to being inspired by each of you!

SUPPLY LIST


Monday, May 23, 2016

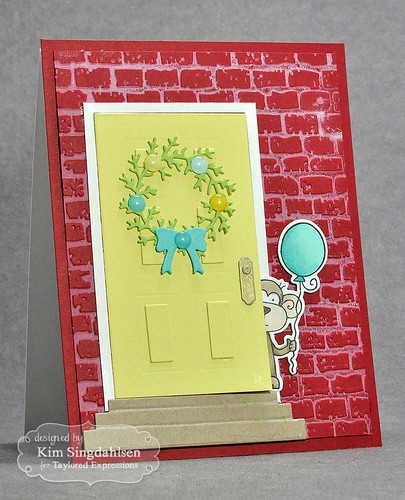
Taylored Expressions: A Surprise in the Doorway

Taylored Expressions has a fun series of dies - the Door to Door series.  There's the door itself with all if its accessories and the front steps. There's the general decor set with wreaths and pots and topiary, and then there's spring decor and winter decor.  (And since there's a couple of seasons missing - I'm sure there must be more coming!)

Check out the beautiful cards using this series by heading to the TE Gallery and searching on "Door to Door".

Surprisingly, I hadn't played with these dies yet.  I made a brick wall and then I cut a white door - but I wanted it a bit more "cheerful".  Being truly terrible at home design, I googled - and check all of these colorful door for brick houses!


So once I decided on a cheerful yellow door, I got really carried away. What if a party monkey was peeking out!!

KimMAY2016BAS WM

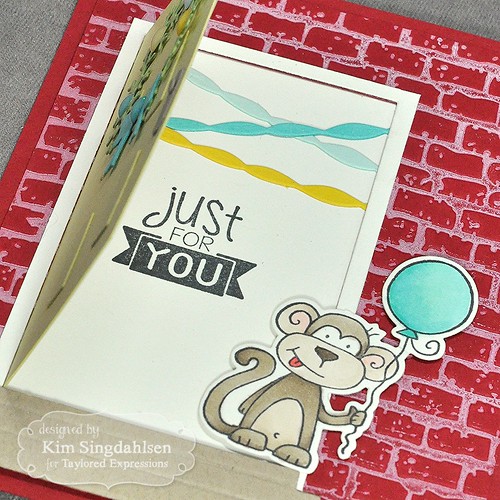
And what if it opened??

KimMAY2016BAS Inside WM

This was all a bit of a stretch for me - it involved "craftiness" and that is not my strong suit - but I am really happy with how it turned out.  Just a few small tips if you want to try it.
  • I did the brick simply by inking the embossing folder with white before embossing.
  • I cut the door out of the brick by using the steps as a guide. Lay the steps down in the corner of the red cardstock, place the door die and cut. (FYI - this card does not open to the inside - it just opens through the brick)
  • The door frame doesn't come with the die set.  I just cut a piece of paper slightly bigger than the door and then die cut the door right out of the middle of it - leaving the frame.
  • I used a light piece of vellum that I cut the same height as the door but about 3/8" wider.  I adhered it to the back of the door leaving the extra sticking out of the left side. Then I adhered that to the back of the brick making a hinge!
That silly party monkey makes me smile!

SUPPLY LIST